A meat grinder is a wonderfully versatile instrument to have on hand in your kitchen – that’s the core truth of any great piece of equipment, and we’re happy to say that a meat grinder is no different. It’s a simple item, mostly consisting of tubes and whirring blades – as long as you treat it well, it will process nearly anything, and allow you to easily grind whatever you might want in nearly any situation.
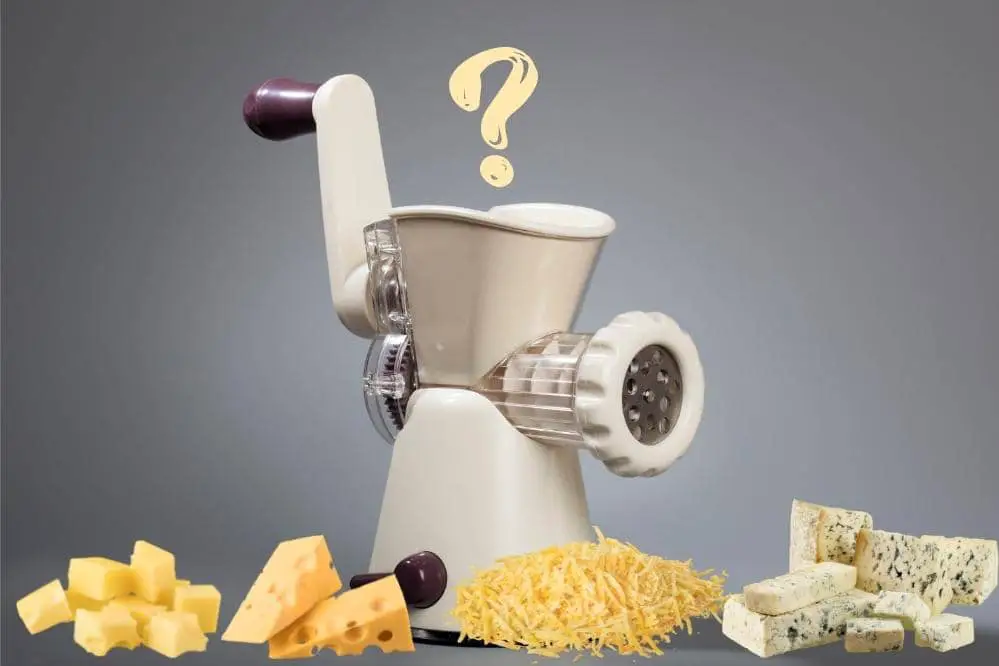
With that said, you might find yourself in a situation where you want to grind cheese. Of course, it’s worth pointing out that a grater would likely be the ‘weapon’ of choice for this most of the time, but if you have mobility issues or any similar concerns, a piece of mechanized equipment may be a great alternative. In this article, we’re going to run through all of the important things that you need to bear in mind about using a meat grinder to grind cheese in your home.
How to use your meat grinder for cheese
The main reason that you might be tempted to use your meat grinder for cheese is speed and efficiency – because it’s a machine taking care of the task at hand, you can go and handle something else, managing another problem if needs be. Even if you didn’t want to multitask in that way, you could stand to one side and allow the grinder to process cheese – it will take seconds compared to the minutes you may spend grating a large portion of cheese.
To use your meat grinder to shred cheese well in your home, there are a few things to bear in mind. We’re going to run through them here and talk about the best ways to shred cheese with a grinder in your home.
First of all, we would entirely recommend freezing your cheese and meat grinder components for a little while. The reason for this is that the fat content within anything is often soft and ‘squishable’ at room temperature. Your grinder will likely not slice through something of that texture, instead pressing and smearing it. Cheese has a high-fat content, so to ensure that the grinder slices and cuts the cheese properly, freezing is the right call.
Freezing your grinder components ensures that they will not get warmer during the grinding process to such a degree that that warm the cheese – that would result in the fat problem we mentioned above.
Secondly, we would make sure to recommend cutting the cheese you grinding into small pieces. This will allow your grinder to more easily handle the cheese itself, swallowing the chunks with ease, allowing for a totally efficient grinding and shredding process. Make sure you cut the cheese before freezing it – this will ensure that the cheese is as cold as possible when it goes into the grinder.
Finally, we recommend you use as fine a grinder plate as you have available to you. This will ensure that your cheese stays together very well after grinding since the small pieces will want to clump together a little. Also, it will filter out any potential impurities or salt crystals in the cheese well, ensuring that the consistency of the cheese is more even throughout the grind.
Why using a meat grinder for cheese can be challenging?
There are a couple of big reasons why using a meat grinder to shred cheese could present some unique challenges. The first one that we would share with you is the fact that cheese is generally really quite oily and fatty. Therefore, if it hasn’t been frozen for a short while before grinding, that oil content will likely get into the blades of the grinder, making them a little less efficient.
In short, the blades will squash the pieces of cheese rather than slice them, which results in an exceptionally poor texture, as well as a very messy grinder.
This messy grinder is the second and final problem that we want to address.
During the process of cheese passing through the grinder that you’re using, it’s very likely that oil and fat will get stuck to the individual parts of the grinder itself. If this is the case, then the grinder will be dirty. Aside from the problem of this oil getting into any grinds that you do in the future, there is also the chance that the oil will go rancid over time. This is hugely food unsafe and would lead to you and your family potentially getting sick if you eat something contaminated with that oil. To be sure that you’re on the safe side, you need to clean your meat grinder after processing cheese.
How to clean your meat grinder after running cheese through it
Being sure to clean your meat grinder of any oil or cheese residue is an important part of being sure that the grinder is as clean as possible.
The first step is to grind a few slices of bread through your meat grinder. The bread slices, and the breadcrumbs that you generate, will soak up the oil and fat residue within the tubes of your grinder. This will remove the bulk of the problem.
Next, we recommend getting ahold of the manual for your grinder, and dismantling it, piece by piece. Make sure to take notes of any complex or odd arrangements of parts, so that you can be sure to reassemble it properly.
Next, soak the individual components of your meat grinder in some warm, soapy water. This will allow you to dissolve the oils of the cheese, since dish soap will work to dissolve the oils themselves, allowing them to stay behind in the water.
After this step, wash the parts thoroughly with a brush, sponge, or any comparable material. Be careful not to scratch the surface of any parts, though anything else will work perfectly well – you need to make sure to reach every area to eliminate fat residue.
Finally, rinse the parts of your grinder with clean, cold water before drying them thoroughly. Be sure that all of the parts are as dry as possible, as this will prevent rust when the grinder is reassembled.
Hi, my name is Kunal Sharma, and I am a self-certified foodie. I love everything about food - from its preparation to cooking, raw ingredients to final dishes.
Some people relax by taking a walk outside or painting, but my release from the day is when I get to come home and cook for my wife and kids. Luckily they aren’t fussy eaters, because it’s a different meal every night!
If you are like me and can’t get enough of all things food related, then I invite you to come on a journey through my website.


")


