How To Season A New Cast Iron Dutch Oven For The First Time
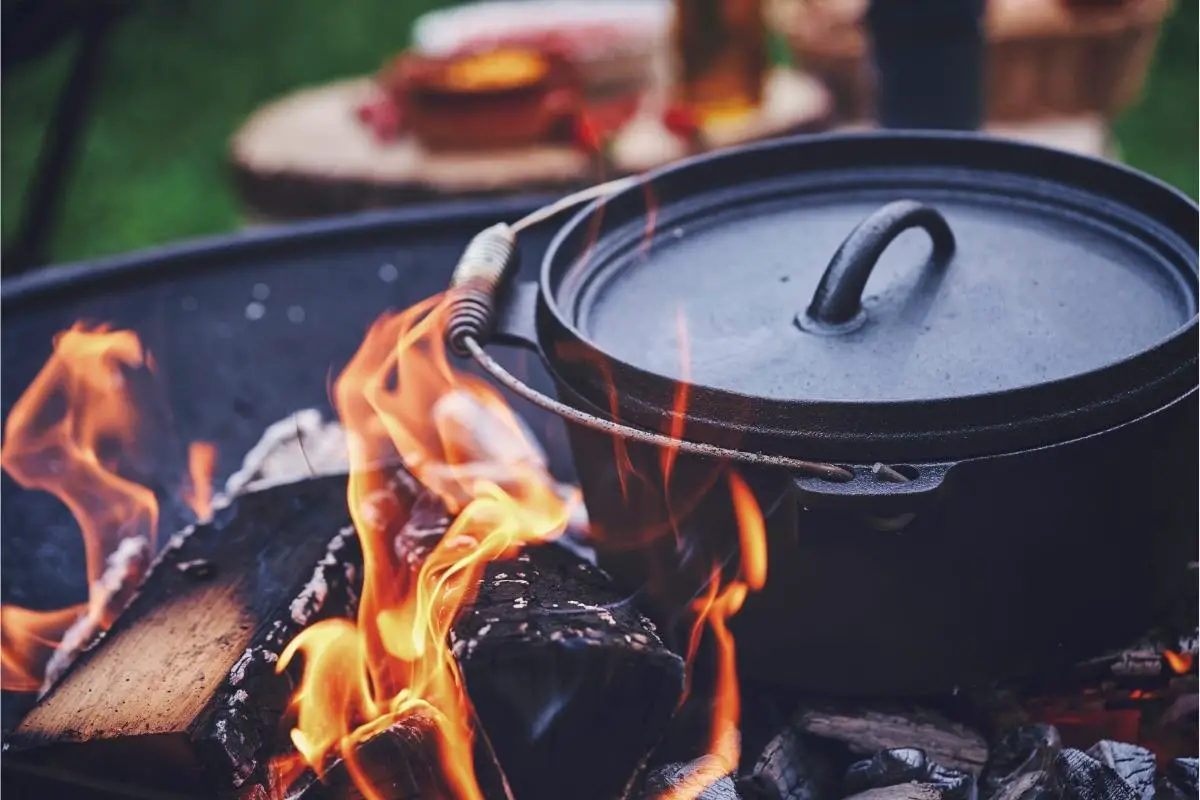
As cookware, Dutch ovens have been used for centuries and can be used on stoves or in ovens, on campfires, and even on barbecues. Looking after one and preventing it from rusting should mean it remains usable for years, even decades.
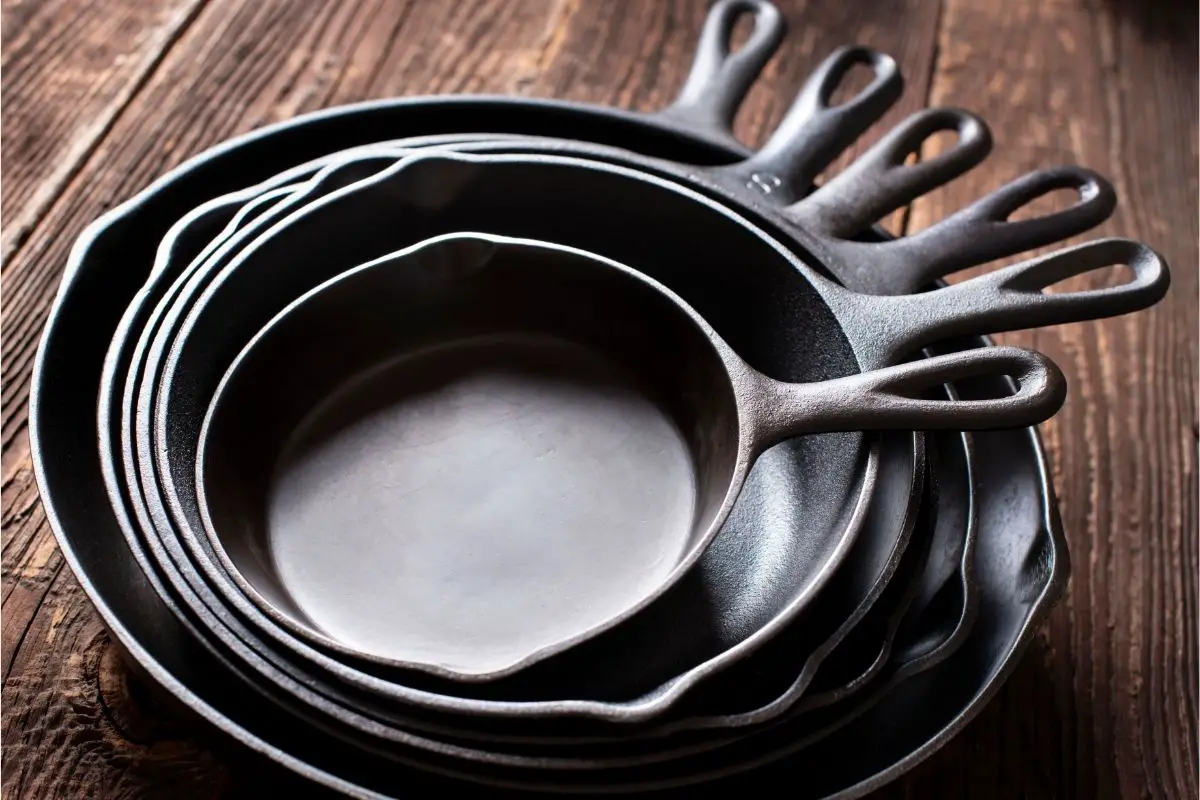
Large and heavy yet versatile and reliable, you will want to look after your Dutch oven as it can last for so long when properly looked after.
They are impressive conductors of heat and their cast iron construction should make them a fixture in your kitchen for you and even future generations. If you have received a Dutch oven that has been passed down, chances are it was seasoned properly right from the start.
Seasoning your Dutch oven is one way to ensure it remains in good condition for as long as you use it. In this guide, we will look at what it means to season a Dutch oven, why you should do it, and how to season your Dutch oven for the very first time.
What It Means To Season A Cast Iron Dutch Oven
The process of seasoning a Dutch oven is to adhere to a layer of oil to protect the cast iron surface underneath. This is to prevent rust from occurring and it will also create a nonstick surface that can be helpful for your cooking.
When you do season a Dutch oven after receiving it, you are also removing any residual contaminants that can still exist from the factory.
You should be wise not to feel that you have to season an enamelled Dutch oven as, though these are made from cast iron, the coating presents a nonporous surface which should be easier to clean and less prone to rusting anyway.
Why You Should Season A Cast Iron Dutch Oven
Seasoning effectively seals your cast iron Dutch oven for cooking. The more times you do season a cast-iron Dutch oven, the more the nonstick coating will be reinforced which should improve how you cook with it too.
You should appreciate cast iron as a cooking material due to its ability to withstand and retain heat exceptionally well.
However, it is also very porous so it can cling onto your food meaning that some meat or vegetables can rip when you go to remove a portion of your finished meal from the Dutch oven.
Cast iron is also reactive and without adequate seasoning, the Dutch oven is prone to rust when it absorbs any atmospheric moisture. The effect of sealing the oven by seasoning it with a layer of grease at high temperatures is protecting the cast iron surface.
You are essentially building a barrier between the cast iron and whatever food you are cooking in it as well as the elements. The seasoning will also be enhanced with regular use, certainly when cooking deliciously fatty foods.
There is also the point that the factory seasoning may not be sufficient for the cooking that you want to do and how often you use your Dutch oven. If you find that the first time you use your Dutch oven that the food sticks to the cast iron surface then it is clear that the factory seasoning has not done a good enough job.
Worse still, the food may simply not taste good as the substance used by the manufacturer to season your Dutch oven is not to your taste.
How To Season A New Cast Iron Dutch Oven For The First Time
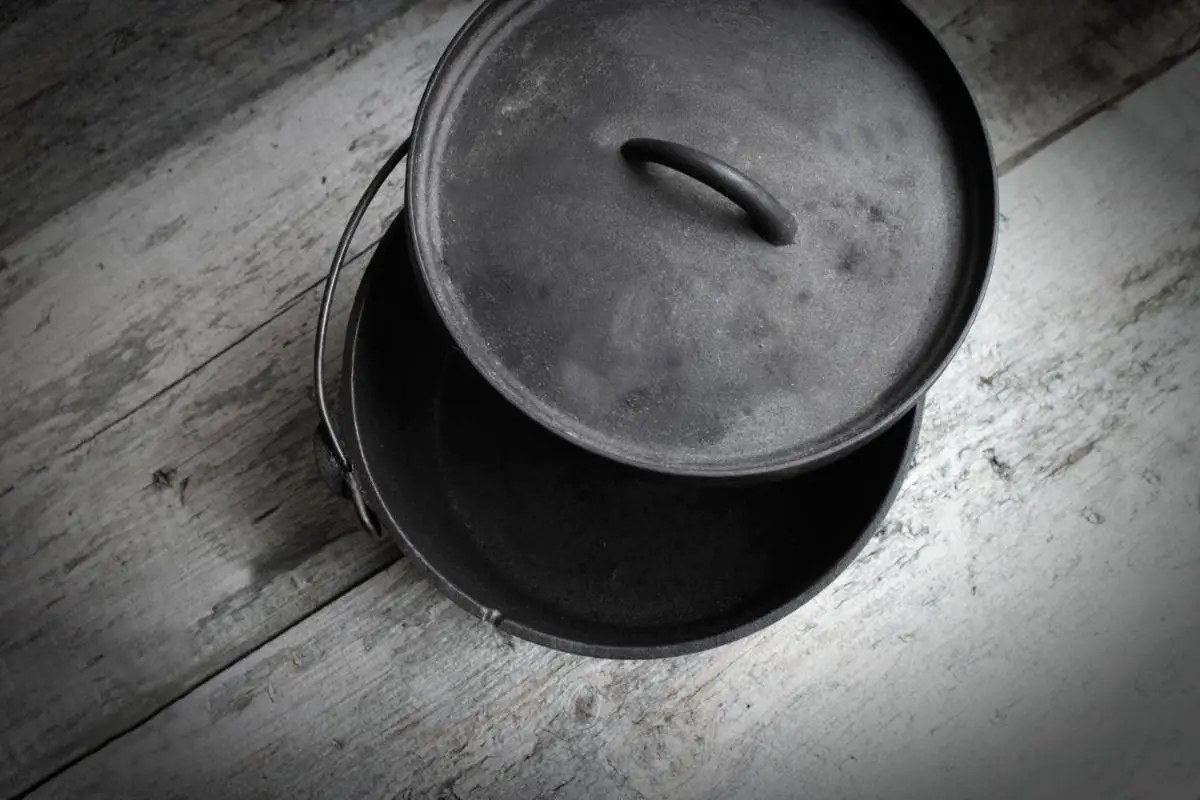
You can buy a cast-iron Dutch oven that is labelled as factory-seasoned but the process of seasoning it can help you understand how the cookware works. Once you receive your new Dutch oven, there may be a layer of wax that manufacturers use to prevent any rust before you get them home.
You will want to remove this as soon as you can though you should make sure there is some adequate ventilation first so turn on the oven fan and open up some windows.
There may also be some specific instructions laid out by the manufacturer that you can follow for the seasoning which would be advised.
At an absolute minimum, you should remove any packaging that has been left by the manufacturer including any protective coatings. That can include the layer of wax which you can easily remove.
How To Remove The Wax From A New Dutch Oven
Start with placing a baking sheet on the bottom rack of your oven and covering it with aluminum foil which is to protect your oven so make sure that the sheet is large enough to cover the area of your Dutch oven.
Flip the Dutch oven upside down and place it on the top rack then bake at 400°F for an hour. The wax should melt off and drip onto the foil you have placed on the bottom rack of the oven. Check the Dutch oven and if all the wax has melted off you can start with your seasoning.
How To Wash Your New Dutch Oven Before Applying Grease
With some warm water (you can use some mild dish soap as long as you rinse it well) and a stiff brush, wash and scrub the Dutch oven then dry it off with a towel. Again, you will need to turn your oven on to 400°F and line a baking sheet on the bottom rack of your oven with another layer of aluminum foil.
Heat Your Dutch Oven Again (optional)
At this point, you can preheat your Dutch oven with the lid on for around half an hour. This will extend the amount of time to complete the task yet can eliminate any moisture that you may have missed when drying your Dutch oven with a towel.
If you do carry out this step, make sure that the Dutch oven is cool to the touch before applying the grease, or use kitchen tongs to ensure that you do not get too close to the hot surface itself.
Applying The Grease
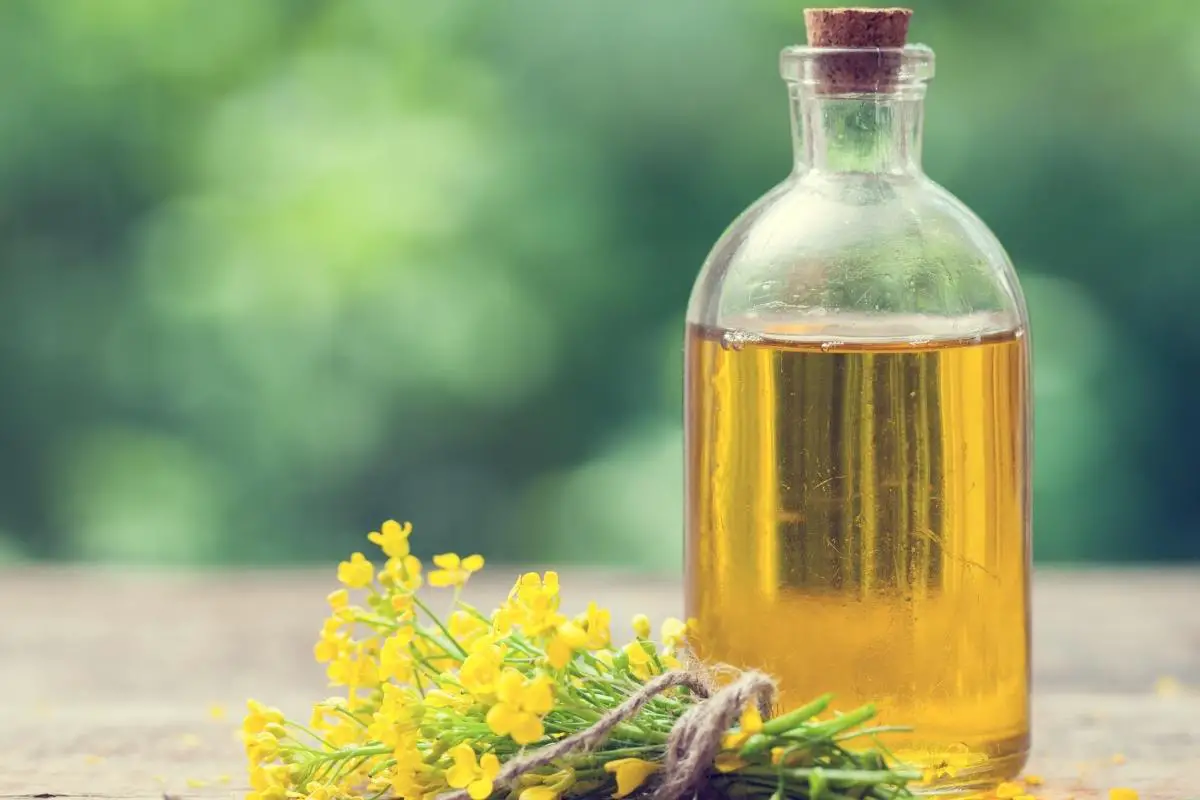
Once your Dutch oven is completely dry, apply a thin layer of grease to it with a paper towel. Most Dutch oven users swear by vegetable oil yet you could also use flax oil, coconut oil, rapeseed oil, or avocado oil.
You want to use grease that can create little smoke so you should steer clear of butter as this is likely to burn instead of polymerizing. Make sure you cover every side with your grease of choice, get into any nooks and crannies using a paper towel or rag, and make sure that even the lid is covered.
Baking The Dutch Oven
With the temperature reaching 400°F, pop the lid onto your Dutch oven and place it upside down on the top rack of your oven to bake for 45 minutes to an hour. Unlike the wax, there may be some smoke coming out of the oven from the oil so you may want to ensure there is suitable ventilation.
With your layer of grease baked into the Dutch oven, turn off the oven or remove it from the barbecue and allow the cookware to cool for half an hour. This is to give the grease time to set, after which the Dutch oven should be ready to be removed from the oven.
Hopefully, there will be a layer of seasoning as visible by a shiny black sheen.
If there is too much grease and a residual layer has been left then you can remove that with a towel. However, if you spot any gaps in the sheen you may want to repeat the process by washing it again before baking it in another layer of grease.
You could also season it a second time if you were not convinced by the factory seasoning that the manufacturer applied.
How To Re-Season A Dutch Oven
Now that you have seasoned your Dutch oven once, you should know how to do it again and again. Re-seasoning your Dutch oven should occur regularly, failing to do so may mean that rust can occur or your food will annoyingly stick to the surface once cooked.
You may only use your Dutch oven for a specific season of the year, likely to be winter for delicious hotpots and stews, which means re-seasoning it to get it to the end.
Again, you will need to ensure an adequate level of ventilation because there maybe smoke. If there is still some seasoning left but gaps on the surfaces of your Dutch oven then simply remove any debris. You can scrub it with a stiff brush though that is not wholly necessary.
Get Your Dutch Oven Hot
To assist your Dutch oven is becoming more receptive to the grease, and more absorbent, you need to remove any moisture that may have gathered over time. This can be done by placing your Dutch oven into an oven or on top of a barbecue then heating it to around 400°F.
As the Dutch oven warms up, it will also heat the grease when applied to make it easier to move around onto each surface.
Apply The Grease
This is still the same method as before but with a heated Dutch oven so be careful when removing it as the heavy cookware will be extremely hot. If you wanted to reduce your contact points with the Dutch oven then you could grip either a rag or paper towel with some kitchen tongues.
Again, you want to cover your surfaces with your grease of choice and make sure you include the sides, bottom, and lid.
Put The Dutch Oven Back In The Oven Or On The Barbecue
Once you have covered all the surfaces of your Dutch oven you can put the lid back on and return it to the oven or barbecue.
The Dutch oven will likely still be very hot so continue to be careful with it and ensure you wear a trusted pair of oven gloves. There should be a lot of smoke so keep an eye on the temperature, especially if you are using a barbecue.
Check The Seasoning
As long as you removed any remaining food debris from the Dutch oven, you should be left with a layer of grease that does not look wet but shiny. There should be a rich-looking finish to the Dutch oven and any rust will have been coated and replaced by this black coating.
What Grease Should I Use To Season My Dutch Oven?
Be aware that you do not have to use the same grease to season your Dutch oven every single time. If you have used vegetable oil for the first occasion, you can switch it up to rapeseed (canola) oil if you wanted a change or that was the only option available at the time.
You could also use coconut oil, avocado oil, or flax oil as none should have an adverse effect on the seasoning or the flavoring of your food.
How Else Should You Maintain Your Cast Iron Dutch Oven?
Your cast-iron Dutch oven was likely a sizable investment so you should take the time to look after and maintain it. That means regular washing but remember that you should not use soap but only some water and work hard to remove any baked-on debris.
Also, leave your Dutch oven some time to cool down as cold water can cause hot cast iron to crack and cause other damage to the surface.
If you are struggling to get rid of any food that has stuck to the surface of your Dutch oven then there is a simple solution to remove it. Cover the food debris with water then get it up to a high temperature.
The raised heat should mean that it loosens the debris so you can easily remove it with a scraper or scourer. Once the debris has been removed, rinse out the Dutch oven with some clean water then dry it off with a towel.
Storing your Dutch oven is also important to ensure that the interior remains clean and ready to use. Invert the lid when you store it as this can improve air circulation and prevent the seasoning layer from becoming rancid.
If it does become rancid you can tell simply by the smell and you do not want to cook with it. You would need to wash it out and re-season it.
Final Thoughts
You should give yourself at least a couple of hours when you want to season your Dutch oven. Your oven or barbecue should be really hot at around 400°F and you may want to scrub your Dutch oven clean, or at least brush away any leftover food debris.
It may seem like a huge effort but seasoning your Dutch oven can prevent it from suffering rust and ensure that you can remove your food cleanly from the surfaces once it has finished cooking.
Though your latest piece of cookware may come pre-seasoned, this can vary between manufacturers and models. When you do it yourself, you can fully appreciate how to perform the seasoning and you will be confident it is seasoned just how you want it.
That only means a couple of hours at the start of your ownership of the Dutch oven that could make a huge difference. Knowing what the process of seasoning is, how to do it, and why should mean that your Dutch oven lasts for years.
Hi, my name is Kunal Sharma, and I am a self-certified foodie. I love everything about food - from its preparation to cooking, raw ingredients to final dishes.
Some people relax by taking a walk outside or painting, but my release from the day is when I get to come home and cook for my wife and kids. Luckily they aren’t fussy eaters, because it’s a different meal every night!
If you are like me and can’t get enough of all things food related, then I invite you to come on a journey through my website.


")